Documentation
Prerequisites
In order to run RetroC64, you need the following prerequisites installed on your system:
- The RetroC64 VSCode Debugging Extension to enable debugging support in Visual Studio Code.
- The .NET SDK 9.0+ or later installed
- The C64 VICE emulator (version 3.7 or later) to run C64 programs and live programming and debugging.
- OS:
Windows/macOS/Linux
When installing VICE, you should ensure that:
x64scis in yourPATHenvironment variable so that RetroC64 can find it.- Or set
RETROC64_VICE_BINenvironment variable to the x64sc binary- Windows (x64sc.exe):
- Example:
$env:RETROC64_VICE_BIN=C:\Program Files\c64\GTK3VICE-3.9-win64\bin\x64sc.exe
- Example:
- macOS / Linux:
- Example:
RETROC64_VICE_BIN=/usr/bin/x64sc
- Example:
- Windows (x64sc.exe):
Your First RetroC64 Basic Program
You can create a simple C64 BASIC program using RetroC64 by following these steps:
Create a new console application:
$ dotnet new console -n HelloBasic
$ cd
Add the required NuGet packages:
$ dotnet add package RetroC64Replace the content of
Program.cswith the following code:using RetroC64.App; // A program is a command line app that builds and runs a 6510 assembly program. return await C64AppBuilder.Run<HelloBasic>(args); /// <summary> /// Represents a BASIC program that prints "HELLO, WORLD" /// Demonstrates simple variable usage for RetroC64. /// </summary> internal class HelloBasic : C64AppBasic { public HelloBasic() { Text = """ 10 X = 1 20 PRINT "HELLO, WORLD" X 30 REM X = X + 1 40 REM GOTO 20 """; } }Launch dotnet watch to build and run the program with live coding support:
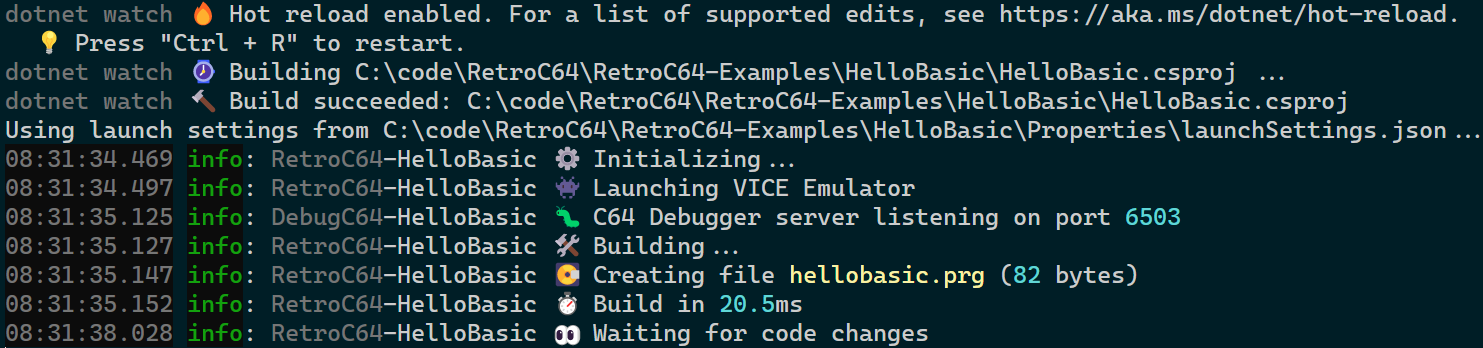
$ dotnet watch -- run
It will output build information and launch the VICE C64 emulator:
And it will display the following screen in the emulator:
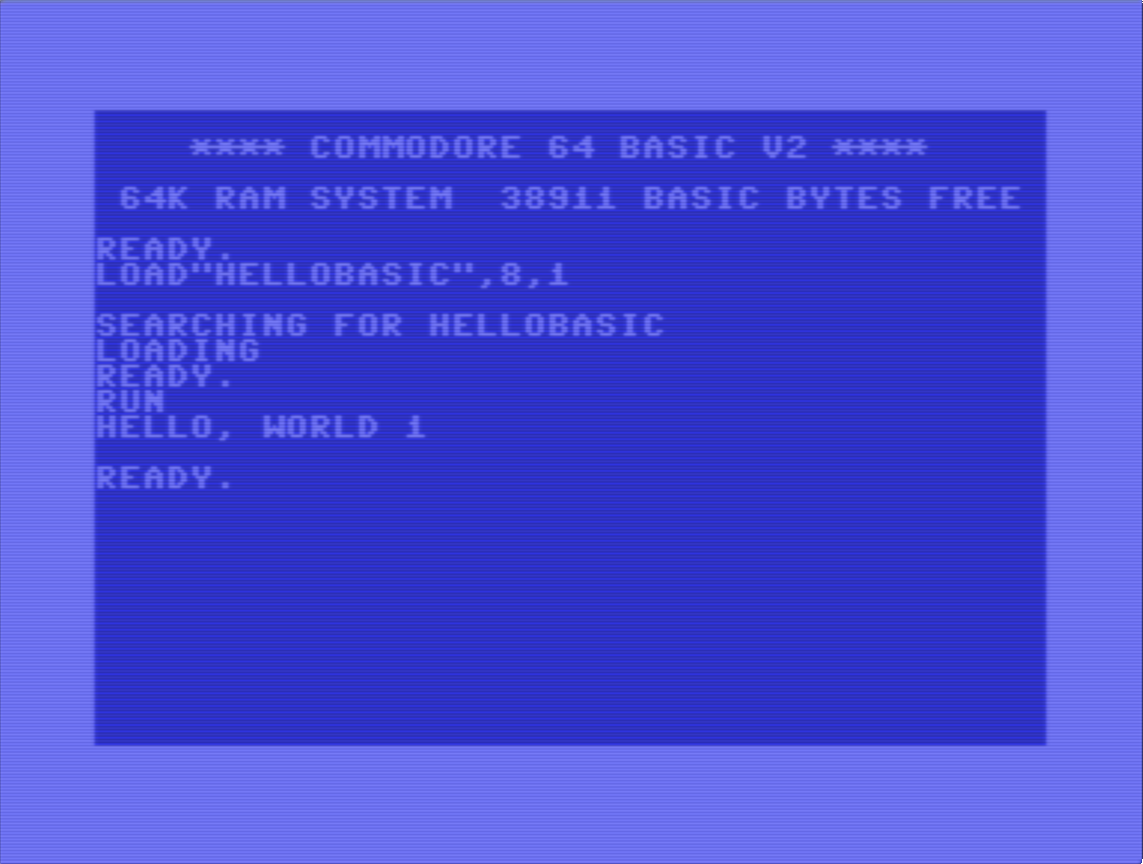
Thanks to dotnet watch, you can modify the assembly code in Program.cs, save the file, and see the changes reflected immediately in the running VICE emulator.
Your First RetroC64 Assembly Program
Create a new console application:
$ dotnet new console -n HelloAsm
$ cd HelloAsm
Add the required NuGet packages:
$ dotnet add package RetroC64Replace the content of
Program.cswith the following code:using Asm6502; using RetroC64; using RetroC64.App; using static RetroC64.C64Registers; // A program is a command line app that builds and runs a 6510 assembly program. return await C64AppBuilder.Run<HelloAsm>(args); /// <summary> /// A simple assembler program that changes the background and border colors. /// </summary> public class HelloAsm : C64AppAsmProgram { protected override Mos6502Label Build(C64AppBuildContext context, C64Assembler asm) { asm.Label(out var start) .BeginCodeSection("Main") .LDA_Imm(COLOR_RED) .STA(VIC2_BG_COLOR0) .LDA_Imm(COLOR_GREEN) .STA(VIC2_BORDER_COLOR) .InfiniteLoop() .EndCodeSection(); return start; } }Launch dotnet watch to build and run the program with live coding support:
$ dotnet watch -- run
It will output build information and launch the VICE C64 emulator:

And it will display the following screen in the emulator:
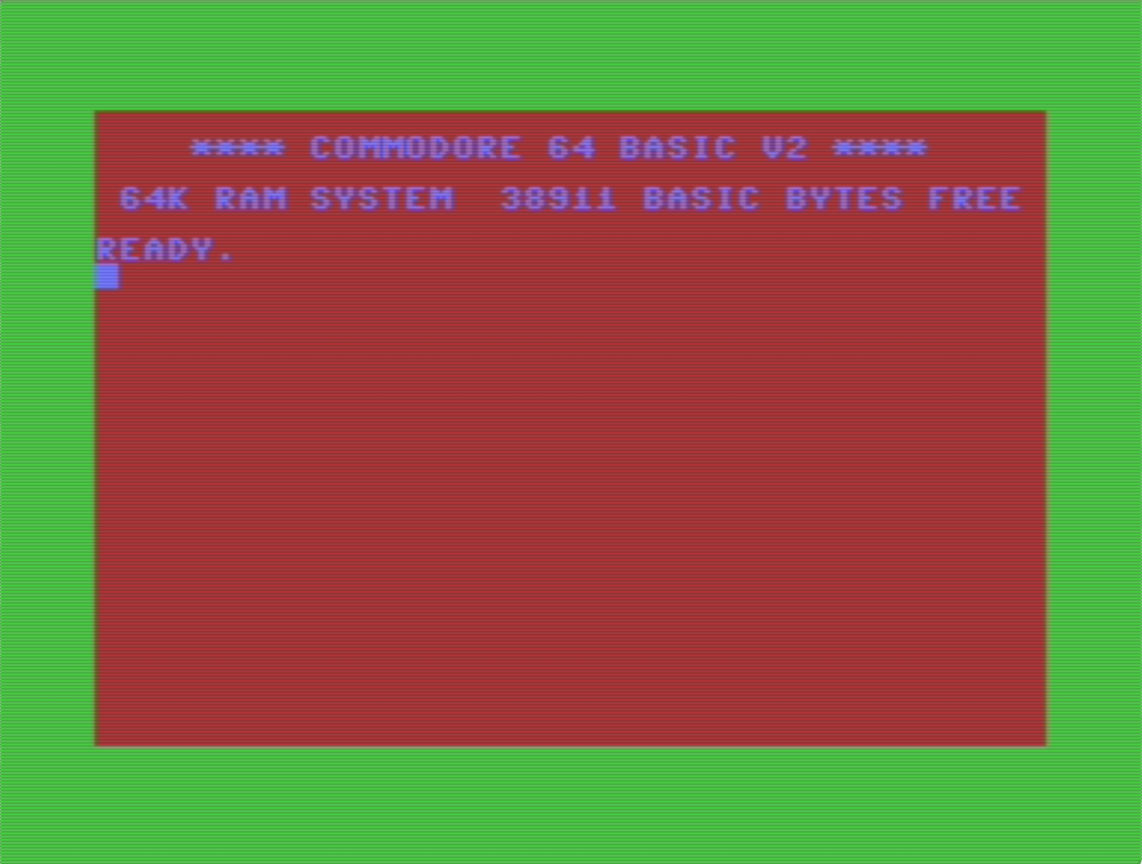
Thanks to dotnet watch, you can modify the assembly code in Program.cs, save the file, and see the changes reflected immediately in the running VICE emulator.
Generated Files
When you run the RetroC64 application above, it generates the following files in the bin/Debug/net9.0 (or corresponding) directory:
.retroC64/build/helloasm.prg: The assembled C64 program in PRG format..retroC64/cache/directory: Contains cached files for faster builds (e.g. SID relocated files).
The .retroC64 directory is created automatically by the RetroC64 SDK.
The helloasm.prg file can be loaded and run directly in the VICE C64 emulator or can be copied to a physical C64 disk image for use on real hardware.
In the core helpers documentation, you can find more information about the available APIs to build D64 image files.
More Examples
You can find more example projects in the RetroC64 Examples GitHub repository.
Next Steps
Now that you have created your first RetroC64 assembly program, you can explore more advanced features of the RetroC64 SDK, such as:
- Using the C# Asm6502 assembler to create more complex assembly programs.
- Use graphics and sprites to create visual effects.
- Play SID music and sound effects.
- Use core helpers to e.g. create D64 disk images.
- Debugging with VS Code